Nailed It! The Fun and Fabulous Perks of DIY Manicures
NAILSFASHIONLIFESTYLE


Let’s be honest: salon nails are a luxury, but DIY nails? That’s a superpower. Not only do you save some serious cash, but you get to call the shots—length, color, shape, and even the timing. Midnight manicure? No problem. Plus, there’s something undeniably satisfying about looking at your freshly painted nails and thinking, I did that. It’s a mini confidence boost that might just spill over into tackling other big goals.


Why DIY Nails Rock
Saves Money – No more shelling out $50+ every few weeks. Your wallet will thank you.
Total Creative Control – Go wild with colors, designs, and lengths.
Do It Anytime – Whether it’s 3 PM or 3 AM, your nail studio is always open.
Sense of Achievement – That “I did this” feeling? Priceless.


There are a few different routes you can take depending on your time, skill level, and patience:
Regular Nail Polish – The classic, easy-to-apply choice. Dries faster with a quick-dry topcoat but chips more easily.
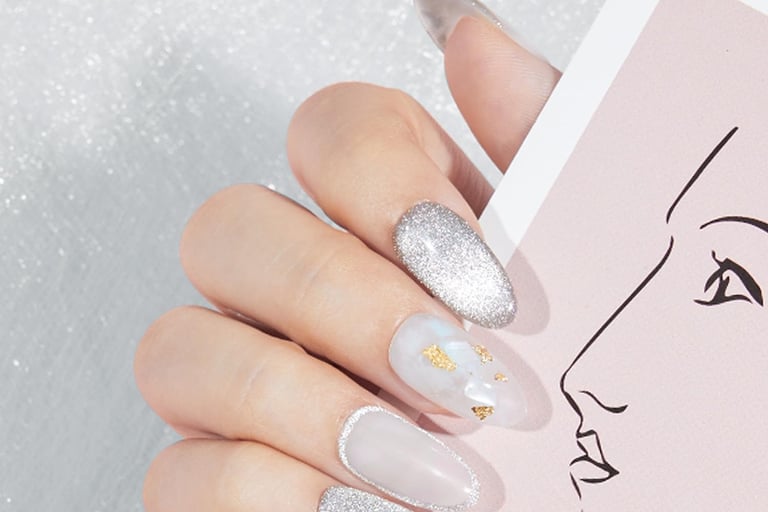
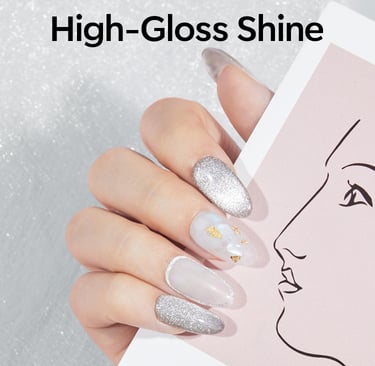
Gel Polish – Long-lasting and shiny. Requires a UV or LED lamp but stays chip-free for weeks.
Acrylics – A little more advanced, but great for long, strong nails. Requires liquid monomer and acrylic powder.
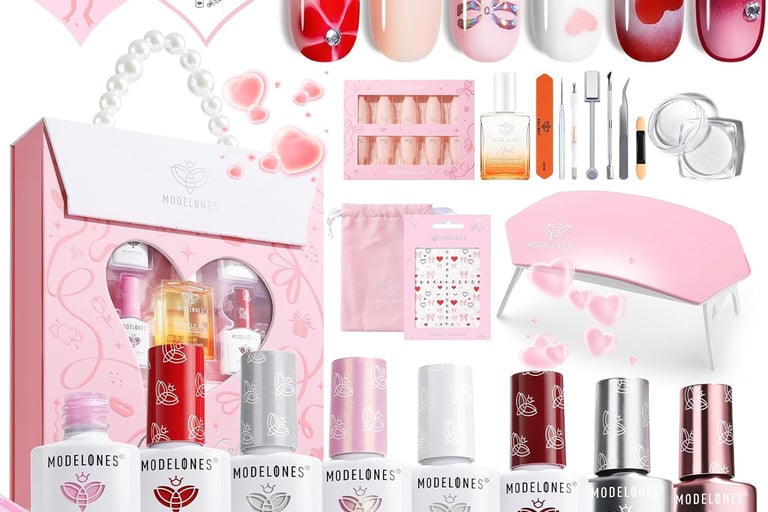
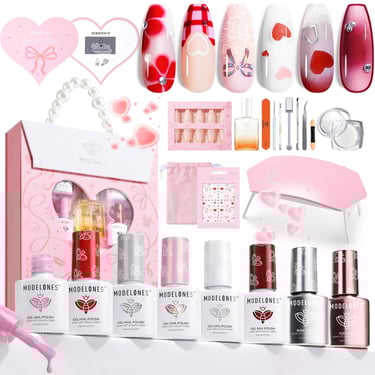
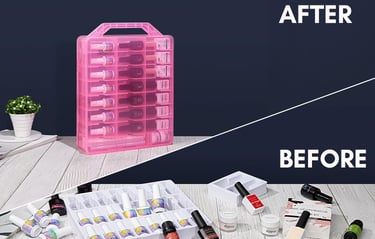
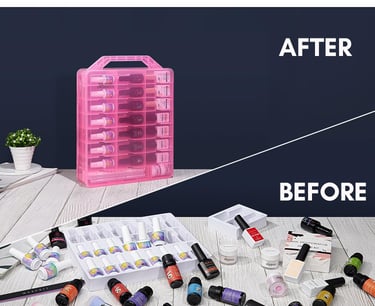
DIY Nail Kit Essentials
To get salon-quality nails at home, you’ll need the right tools:
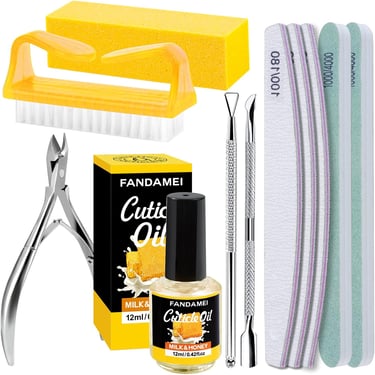
Nail file & buffer – To shape and smooth the nail surface.
Cuticle pusher & nippers – To prep and clean up the cuticle area.
Nail dehydrator & primer – Key for long-lasting manicures, especially for gel and acrylics.
Nail forms and tips - For that extra length.
Base coat & top coat – Protects and seals your masterpiece.
Polish (regular, gel, cat eye, or acrylic products) – Your color of choice.
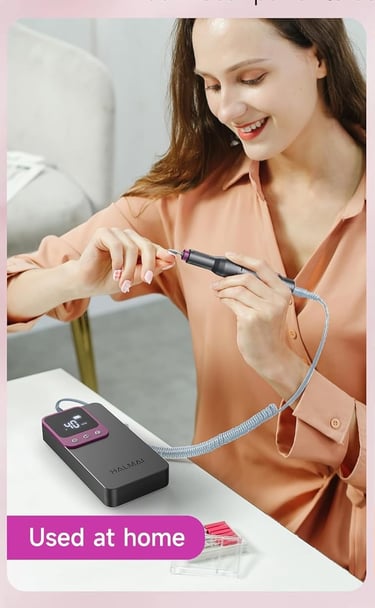
UV/LED lamp – For curing gel polish.
Acrylic kit (monomer, acrylic powder, brush) – If you’re diving into acrylics.
Lint-free wipes & alcohol – To remove oils and tacky layers.
Acetone & foil – For easy removal.


2. Dehydrate & Prime
Apply a nail dehydrator to remove oils.
Follow with a primer if using gel or acrylics.
3. Choose Your Nail Type & Apply
Regular Polish: Apply base coat → two coats of polish → top coat → let dry.
Gel Polish: Apply base coat → cure under UV/LED → two coats of gel color (curing between layers) → add nail art → top coat → final cure.
Acrylics: Apply nail tips if needed → Dip brush into monomer, then into acrylic powder → Apply acrylic mixture to nails → Shape and file once dry → Top coat.
4. Finishing Touches
Apply cuticle oil to keep nails hydrated. You can also apply this for extra strength.
Moisturize hands for that salon-fresh feel.
Admire your work (and snap a pic, of course)!
Doing your own nails is not just a budget-friendly hack—it’s an art form, a self-care ritual, and a confidence booster all rolled into one. So, grab your nail kit, unleash your inner nail tech.
Disclosure: This post may contain affiliate links, meaning I get a commission if you decide to make a purchase through my links, at no cost to you.